How to choose the right worktop
Choosing a worktop comes down to four decisions: material, thickness, edge profile and shape. We go through them through the eyes of the factory — what withstands your use, what looks good and what is unnecessary. Finally, a checklist before measuring.
Where to start
Start with how you use the kitchen, not with pictures. How many times a week do you really cook? Do hot pans go straight onto the worktop? Are there children who spill juice and forget to wipe it up? Tough everyday use favours quartz or ceramic; calm use allows marble or limestone, if you are willing to care for it. Granite is the most carefree of the natural stones. You can also find the differences between materials in the articles Quartz or granite for the kitchen , Ceramic or quartz worktop and Stone worktop or laminate.
Then style and budget. A thick 30 mm worktop with a rounded edge looks traditional; thin 12 mm ceramic with a chamfered edge looks modern. The price is made up of the material, thickness, amount of machining and additional services — not just the square metres. Finally, care: all stone lasts when it is cared for according to the instructions (Care and cleaning). Delivery and installation in Finland — 14 working days from drawing approval, regardless of the material.
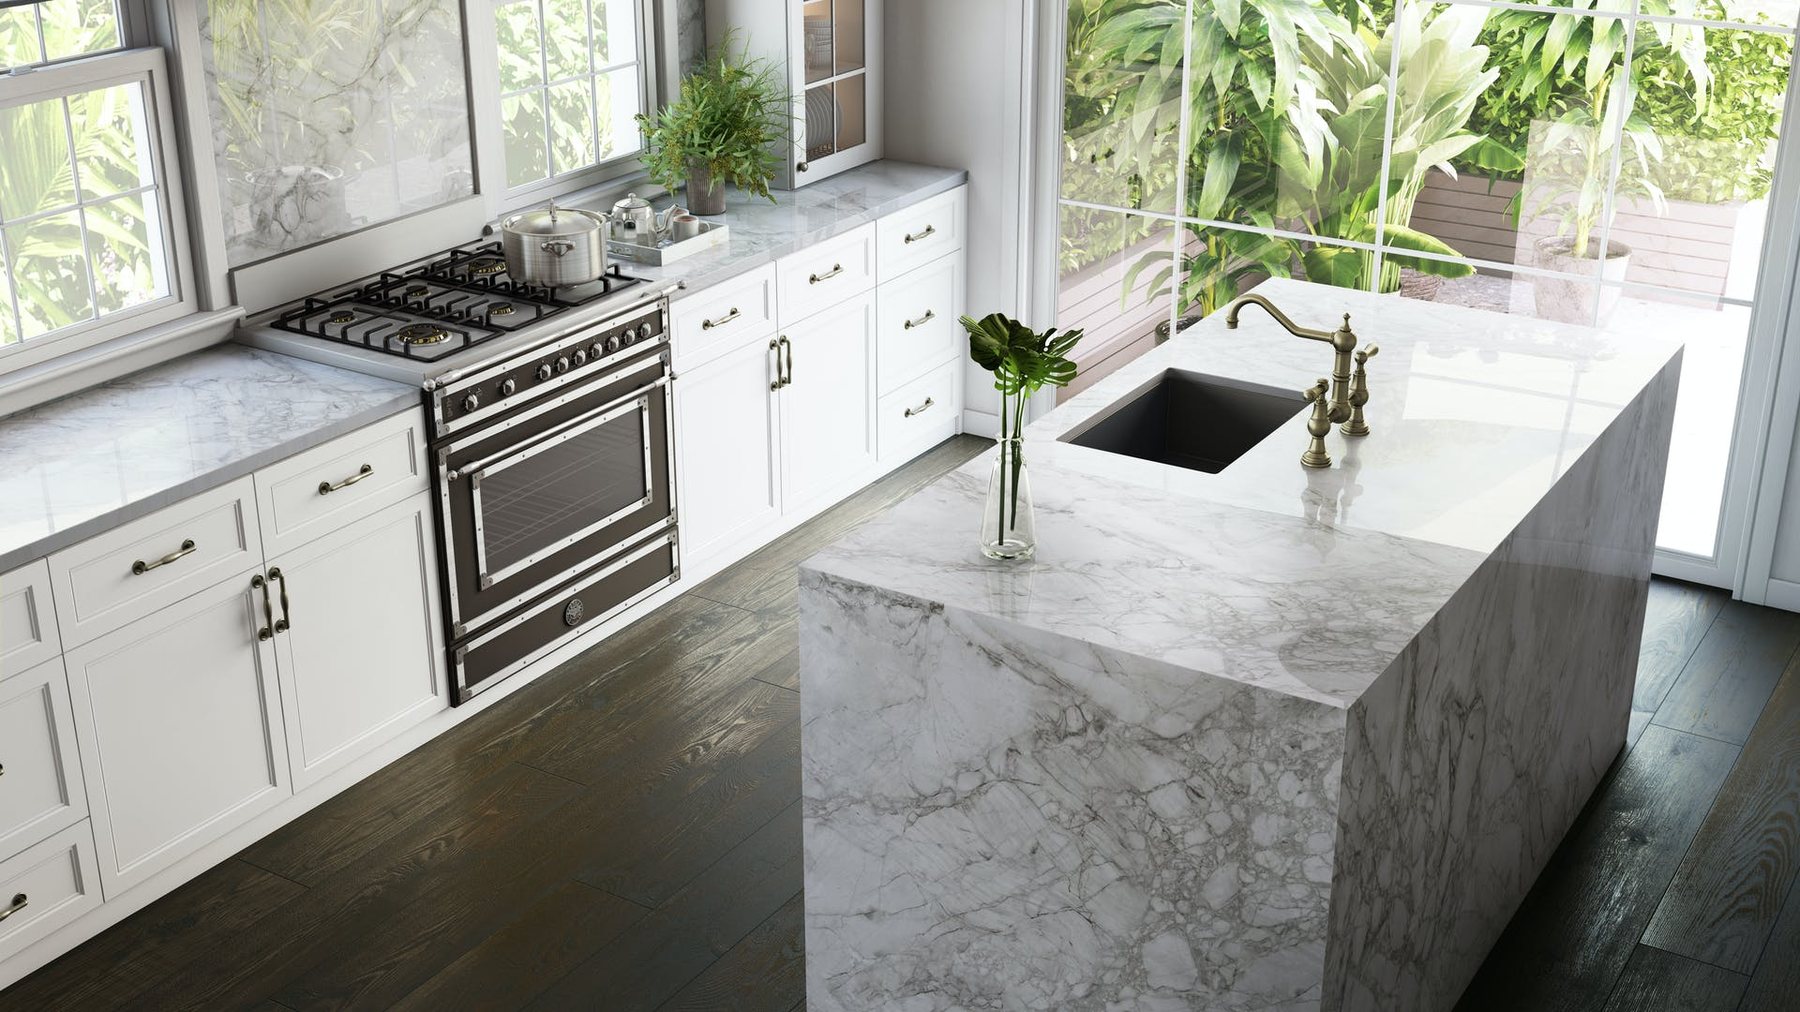
Materials compared
| Property | Quartz | Ceramic | Granite | Marble |
|---|---|---|---|---|
| Heat resistance | Good, still use a trivet | Excellent, a hot pan is fine | Excellent | Good, but sudden temperature changes can leave a mark |
| Scratch resistance | Very good | Excellent, the hardest surface | Very good | Moderate, a softer stone |
| Stain resistance | Excellent, dense surface | Excellent | Good when sealed | Sensitive to acids: lemon, wine, vinegar |
| Outdoor use | Not recommended, UV fades it | Yes | Yes | Limited, poor weather resistance |
| Care needed | Little: water and a mild detergent | Little | Sealing every few years | Regular sealing and caution |
| Best suited for | Family kitchen, tough everyday use | Chef’s kitchen, outdoor kitchen | Traditional kitchen, stairs, window sills | Bathroom, reception area, calm use |
Thickness: 12, 20 or 30 mm
Thickness affects the look, the weight and which edge profiles are possible.
12 mm — light and modern
Mainly ceramic. A slim line and a light slab, also suits splashbacks and cabinet door surfaces. For the edge, a chamfered or glued edge that gives a thicker look.
20 mm — the most common choice
The standard thickness for quartz and ceramic. Rigid enough for overhangs, lighter than 30 mm, all edge profiles possible. A good default if there is no particular reason for anything else.
30 mm — sturdy and traditional
The classic for granite and marble, also available in quartz. A solid look, allows rounded and half-rounded profiles. Heavy — the cabinets must be in good condition.
Edge profiles
The edge determines how the worktop looks up close and how it withstands knocks. More on the page Edge profiles.
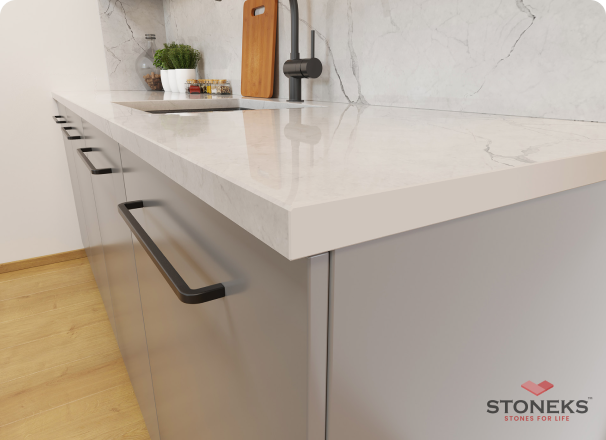
Chamfered edge
A small chamfer on the top corner. Suits all thicknesses, especially 12 and 20 mm. Modern, easy to keep clean, protects the corner from chipping. Our most common choice.
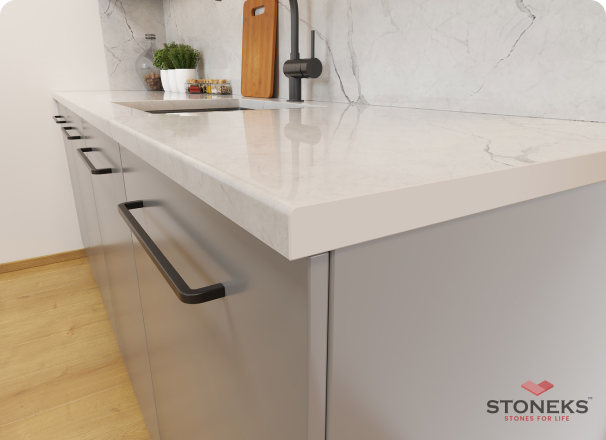
Rounded edge
The top corner is rounded with a small radius. A softer look than a chamfer, comfortable to the hand, withstands knocks. Suits 20 and 30 mm worktops in all materials.
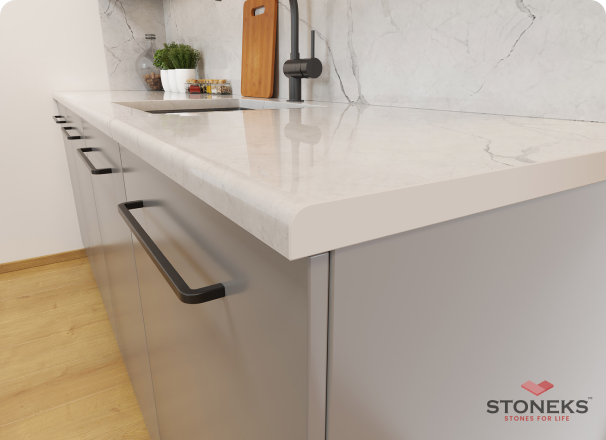
Half-round edge
The top edge is rounded into a half-arc, the bottom edge straight. A classic look for 30 mm granite and marble. Needs a thick slab; it does not fit on a thin one.
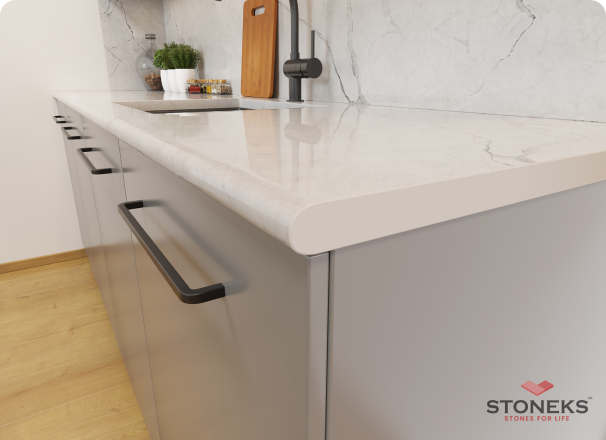
Round edge
The whole edge is rounded into a full arc. The softest and safest — good for family kitchens and islands. Only for 30 mm worktops. Traditional, does not suit slim modern lines.

Antique edge
A lively edge that looks hand-split. Suits granite and a rustic style, also outdoor kitchens. The uneven surface collects more dirt; not for thin slabs or ceramic.

Glued edge
A strip of the same material is glued to the edge, making a 12 or 20 mm slab look 40–60 mm thick. A solid look at a light weight. The joint is visible on close inspection.

Chamfered 15 mm
A wide 15 mm chamfer that shows as a clear line of light along the edge. A graphic, architectural look for 20 and 30 mm worktops. Durable, but the chamfer stands out in light materials.
Worktop shapes
The shape determines the number and position of the joints — and how many slabs are needed.
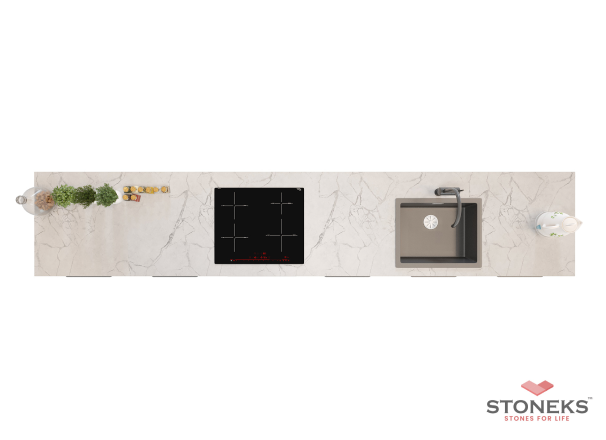
Straight worktop
One wall, one slab. Usually seamless as long as the length stays within the slab dimensions (about 3 m depending on the material). The simplest to measure and install; suits all materials and thicknesses.
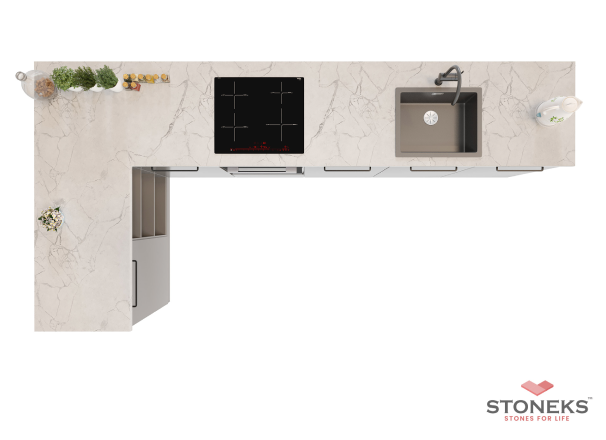
L-shaped corner kitchen
Two walls, one joint in the corner. We agree on the position of the joint at measuring — it can often be hidden at the sink or hob. The inside corner is always rounded so that the stone does not crack.

Straight worktop and island
A wall worktop and a separate island. It is worth choosing the same material and edge for the island; the depth of the overhang decides whether a support is needed. Two slabs, no corner joints.
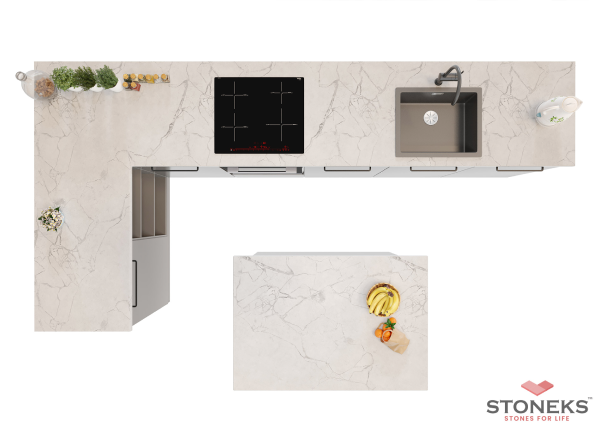
Corner kitchen and island
An L-shaped worktop plus an island — a typical open-plan kitchen. Three slabs, one corner joint. The island’s edge profile is visible from every side, so choose it first and the wall worktop to match.
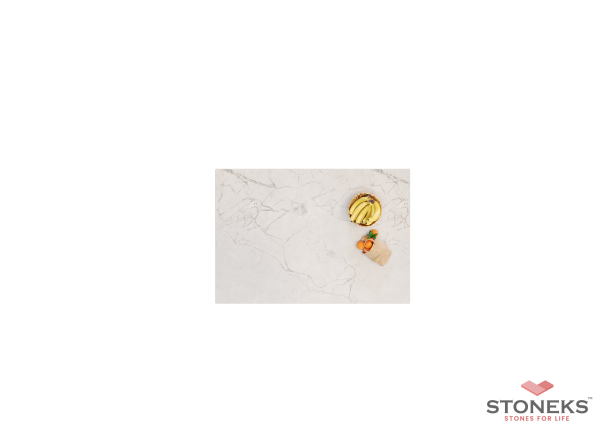
Island only
A free-standing worktop with all edges visible. Thickness and edge are emphasised; 30 mm or a glued edge looks sturdy. Remember electricity and water before measuring.

U-shaped kitchen
Three walls, two corner joints. Requires precise measuring, because walls are rarely straight — hence the laser. The joints are placed so that they are as unnoticeable as possible.

U-shaped kitchen and island
The largest set-up: four slabs, two corner joints and an island. The same material batch for all slabs so that the shade stays uniform. Installation usually takes one longer day.
Sink and hob mounting methods
The first four concern the sink, the last three the hob or cooktop. Decide them before measuring — the cut-outs are milled at the factory.
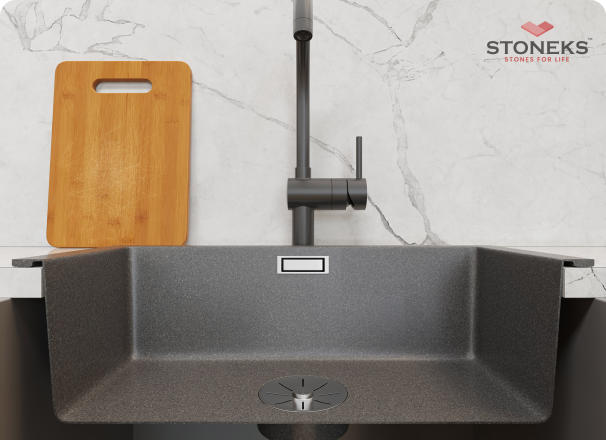
Top-mounted sink
The rim of the sink rests on top of the worktop. The easiest and most affordable, suits all thicknesses and almost all sinks. Dirt can collect under the rim; wipe the joint regularly.

Flush-mounted sink
The rim of the sink is milled into the worktop surface, so it sits level with the stone. Neat and easy to wipe. Requires precise CNC machining and a 20–30 mm worktop.

Undermounted sink, glued
The sink is fixed to the underside of the worktop; the stone edge remains visible in the opening. The most popular for quartz and granite, as crumbs are swept straight into the sink. The edge of the opening is polished.

Sink from the same stone
The sink is built from the worktop material and glued under the worktop — a seamless, uniform look. The most striking and the most demanding. Suits quartz and ceramic; ask about it separately.
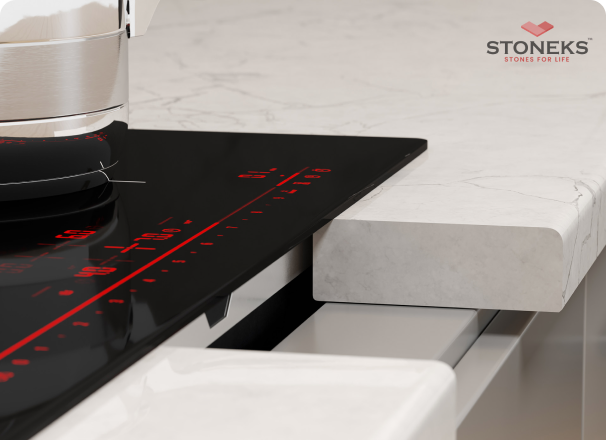
Top-mounted hob
The most common method: the frame of the hob rests on the stone. Suits all worktops and almost all hob models. The opening is milled according to the manufacturer’s dimension drawing.

Flush-mounted hob
The glass of the induction hob is set into the stone surface at the same level. Pans slide straight onto the worktop. Requires a hob model suitable for flush mounting and a worktop of at least 20 mm.
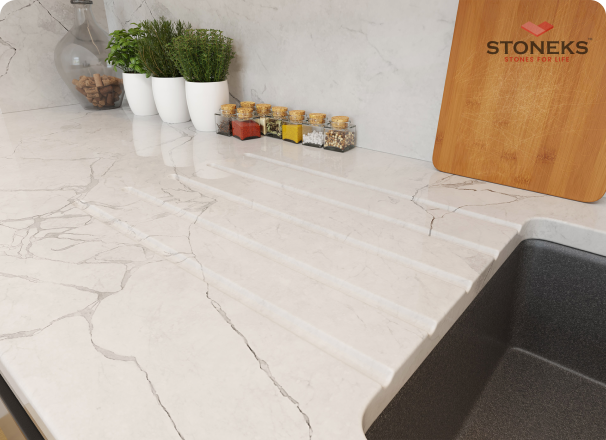
Tap and water fittings
Tap holes, soap dispensers and sockets are drilled at the factory according to the dimension drawing. Tell us the models before measuring — drilling on site afterwards is always a risk to the stone.
Checklist before measuring
Cabinets fixed and levelled
The units are installed in their final position and level. We measure from the cabinets, not from the wall — if the cabinets move after measuring, the worktop will not fit.
Sink, tap and hob decided
Model and mounting method decided; dimension drawings or appliances on site. The cut-outs are milled at the factory, so a change afterwards means a new slab.
Material and edge chosen
Stone, thickness and edge profile locked in the quote. It is worth seeing the material in person before the final decision — in the showroom you see the slabs in full.
Walls and splashback clarified
Will the splashback be made from the same stone (Splashback panels)? Are there sockets on the walls whose positions matter? Tell the measurer, and they will be drawn in.
Old worktop and extra work
We remove the old worktop, connect the appliances and do the plumbing, priced separately — agree on them in advance, and the installation is done in one visit.
Schedule
Delivery and installation in Finland — 14 working days from drawing approval. Make sure the kitchen is clear on installation day and the route inside is unobstructed.
Frequently asked questions
What is the best material for a family kitchen?
For most, quartz: the dense surface does not absorb stains, resists scratches and needs no sealing. If hot pans are put straight on the worktop or the kitchen sees heavy use, ceramic is even more durable. Marble works if you accept the patina and care for the surface regularly. We help you choose: Quote request.
Should you choose 20 or 30 mm?
20 mm is the standard thickness for quartz and ceramic: lighter, all edge profiles possible and rigid enough for ordinary overhangs. 30 mm is chosen for the look — traditional, sturdy — or when a round or half-round edge is wanted. A thin slab can be made to look thick with a glued edge, if you like the solid look but not the weight.
Can the worktop be made without joints?
A straight worktop within the slab dimensions is seamless. In a corner kitchen the joint almost always goes in the corner, in a U-shaped kitchen in two corners. At measuring we place the joints in the least noticeable spots and make them with factory precision, so they are thin and in the shade of the material. Inside corners are always rounded so that the stone does not crack — see Corner finishes.
What if I don’t know yet which sink I will take?
Decide it before measuring, at the latest before the drawings are approved. The opening is milled at the factory according to the sink’s dimension drawing, and it cannot be enlarged safely on site. If the sink is still open, see our options on the page Sinks and taps — at the same time we make sure the sink and mounting method suit the chosen stone.
How quickly is the worktop ready?
Delivery and installation in Finland — 14 working days from drawing approval. The time starts once measuring has been done and the drawings approved. For special-order items the delivery time can be longer; we state it in the quote. The whole process from quote to installation is described on the page Ordering instructions.
Unsure about your choice? Ask us
Tell us about your use and style — we suggest the material, thickness and edge and make you a quote. Contact: Contact us.

